Crafting: Draft Excluder
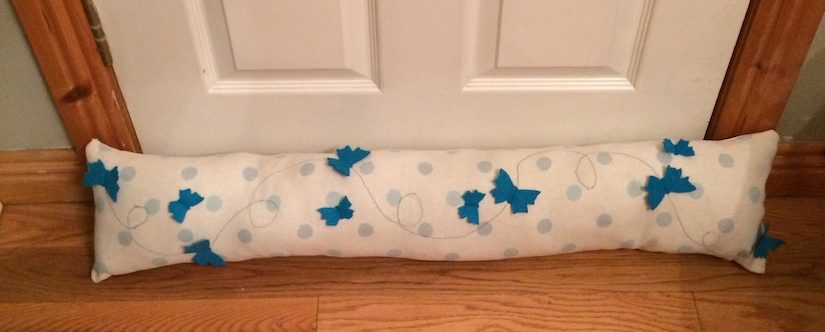
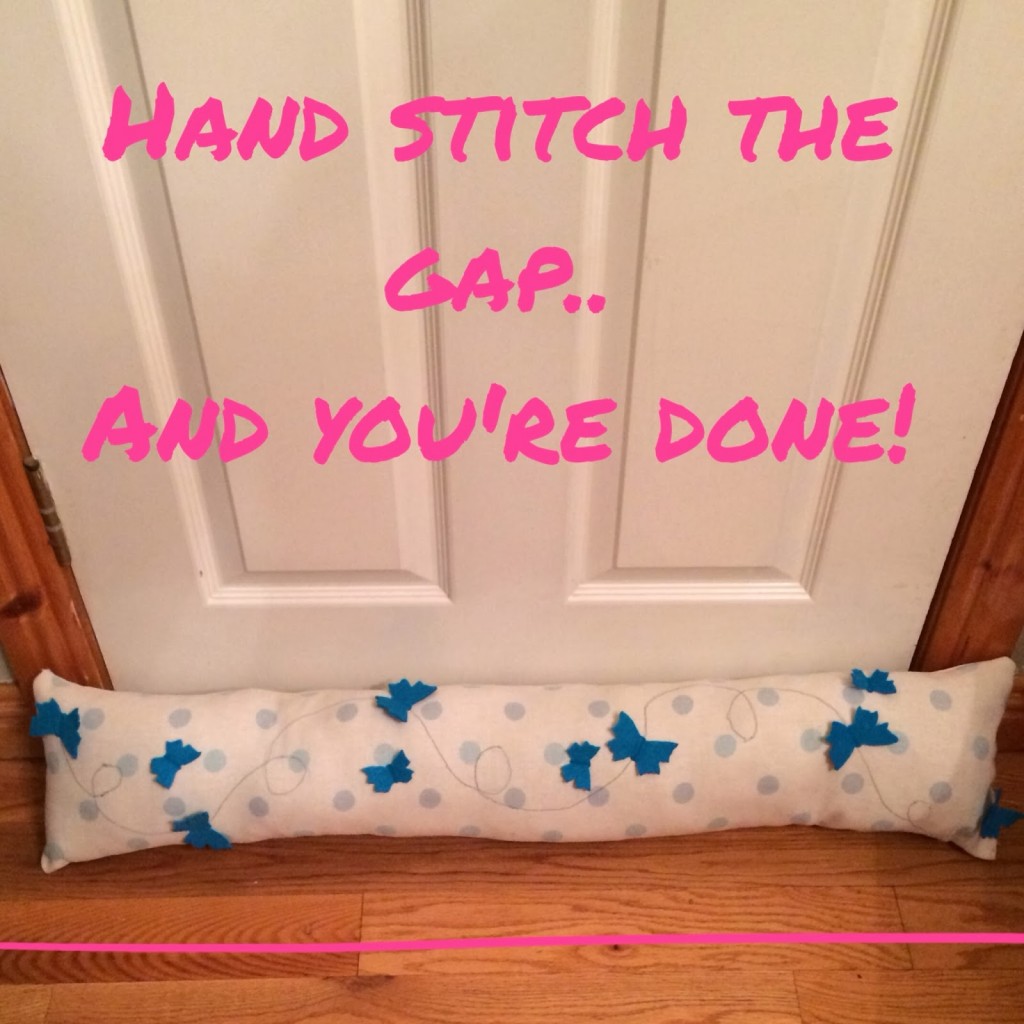
We all have a drafty spot in our homes, what better way to use up old fabric than to make something really useful, like a draft excluder..
You don’t have to run out to the fabric store to get yards of fabric and trimmings, most of the time you have what you need, I had some leftover Laura Ashley curtain fabric some felt and we have an enormous amount of pillows in storage, in fact, enough to supply a small hotel, so I chose the cheap Hollow Polyester filling ones from the likes of Penneys/Primark, where they’re about €6 for a pair, I’m not suggesting for one minute you threaten the goose down or costly neck support pillows with a scissors or knife but the ones that aren’t even worthy of the dog to use! I also chopped up the pillow bag and stuffed it with that also. For the actual tube, you can use an old pair of trousers or a dress that no longer looks great and recycle it!
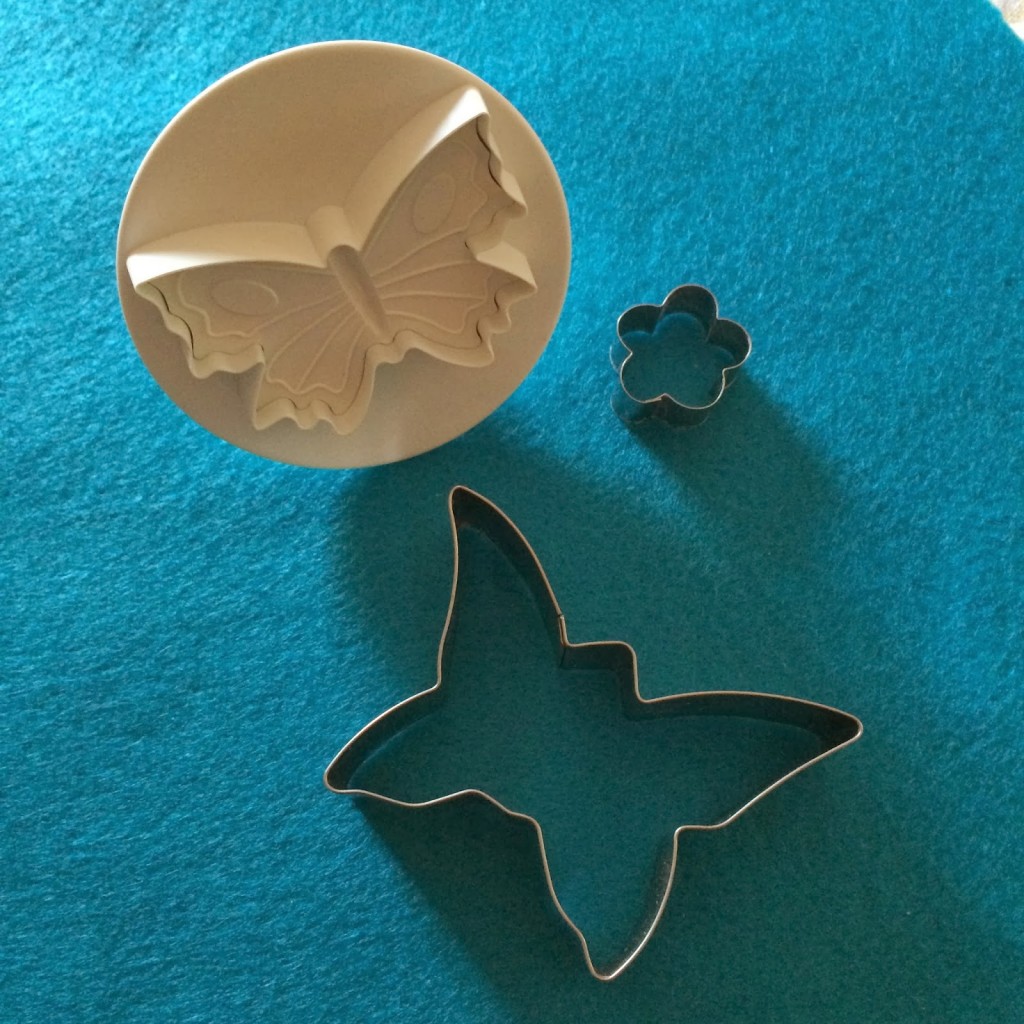
Lastly, design a motif, I chose butterflies and used fondant cutters pressed down on some cereal box card to get the shape and then cut around it to make a cardboard template… you can choose any shape or design you like, add buttons or ribbon’s and lace even. If your doorway tends to get wet on the floor a lot, I suggest using PVC fabric as the back piece of the excluder, Laura Ashley or Cath Kidston do some lovely ones but be careful not to ask for oil cloth as it’s terribly thick and might break your machine needle. Measure the width of your doorway and then choose how thick you want it, my door was 3ft so each side of the excluder was 3ftx20cm.
What you will need:
- Fabric of your choice, a little larger than your measurements.
- Some flat fabric for motif
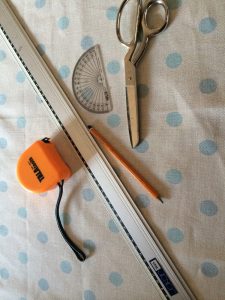
- Fabric scissors
- Cookie or fondant cutters
- Long ruler
- Pencil (8B is idyllic for drawing on fabric)
- Thread
- Sewing needles
- Sewing machine (Optional)
- Dressmaker’s pin’s
fabric to face each other so you’re working on the inside and your drawn lines and measurements aren’t seen when it’s done. Measure out and mark your chosen measurements and remember to leave half the side panel unstitched with the machine so you can reverse the bag to stuff it.
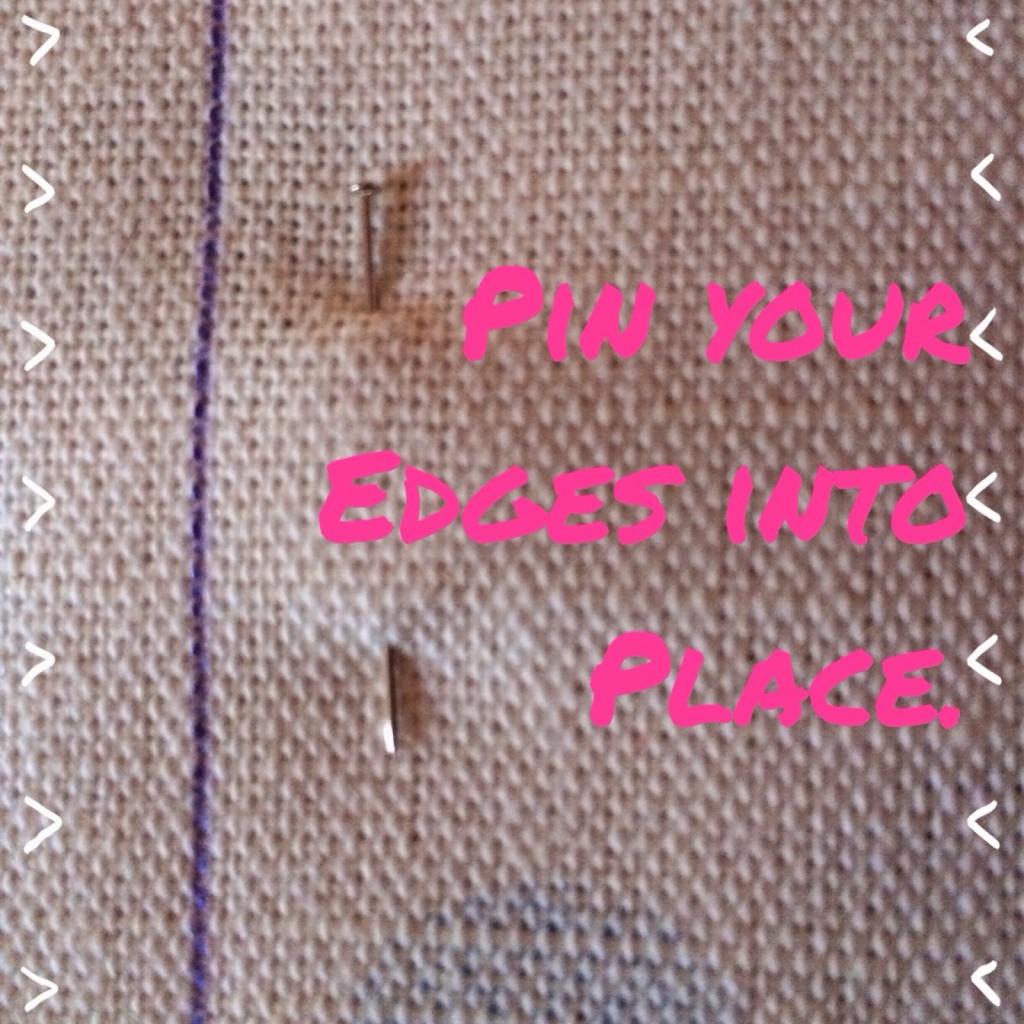 Pin one of the long sides in place and open it like a book so you can work on the design. I chose butterflies as I said, so you can choose which you’d like to do, butterflies, flowers, the possibilities are endless.
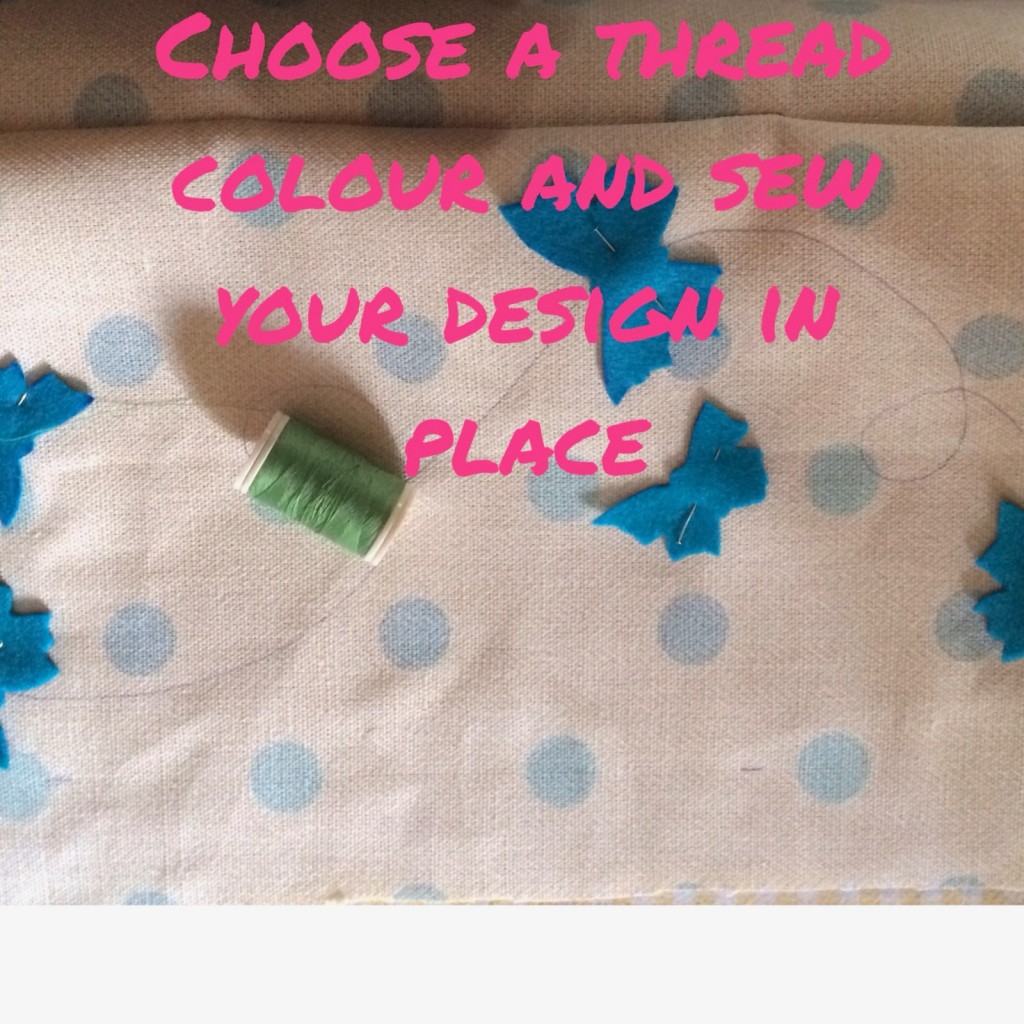
Fondant or cookie cutters are great because they’re big and easy to use, trace them onto the felt and cut them out and position them into place with pins and then sew them by hand or machine.
I did a trailing scrolling design between the butterflies so continued the stitching in one continuous line. You’ll then start to see your whole design start to come together..
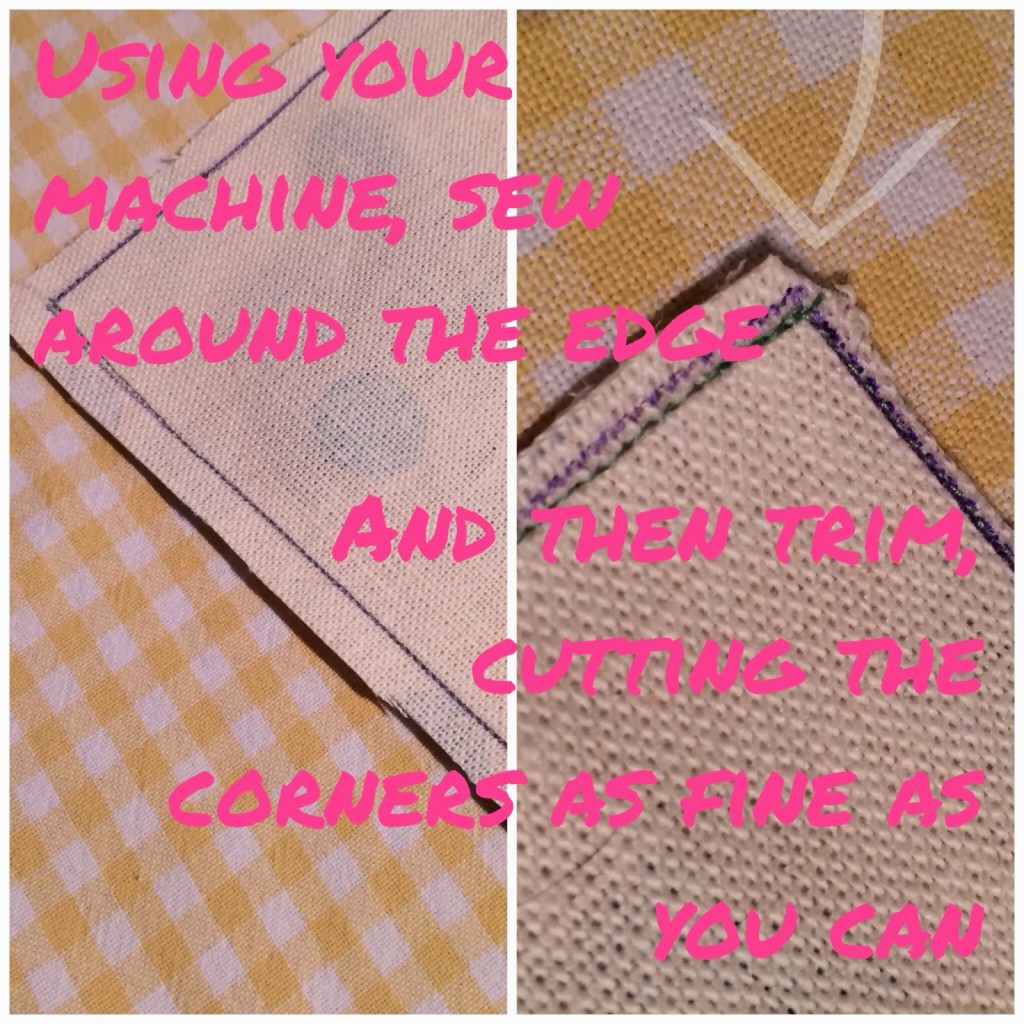
When you’re happy with your design then close over the flap so it’s all inside out again and then with a thread of the same colour as your fabric, sew around the edges, remembering to leave the gap at the side unsewn.
Trim around the edges and tidy it up but only leave a small area on the outside of the corners so when it’s done, the corners don’t stay inverted.
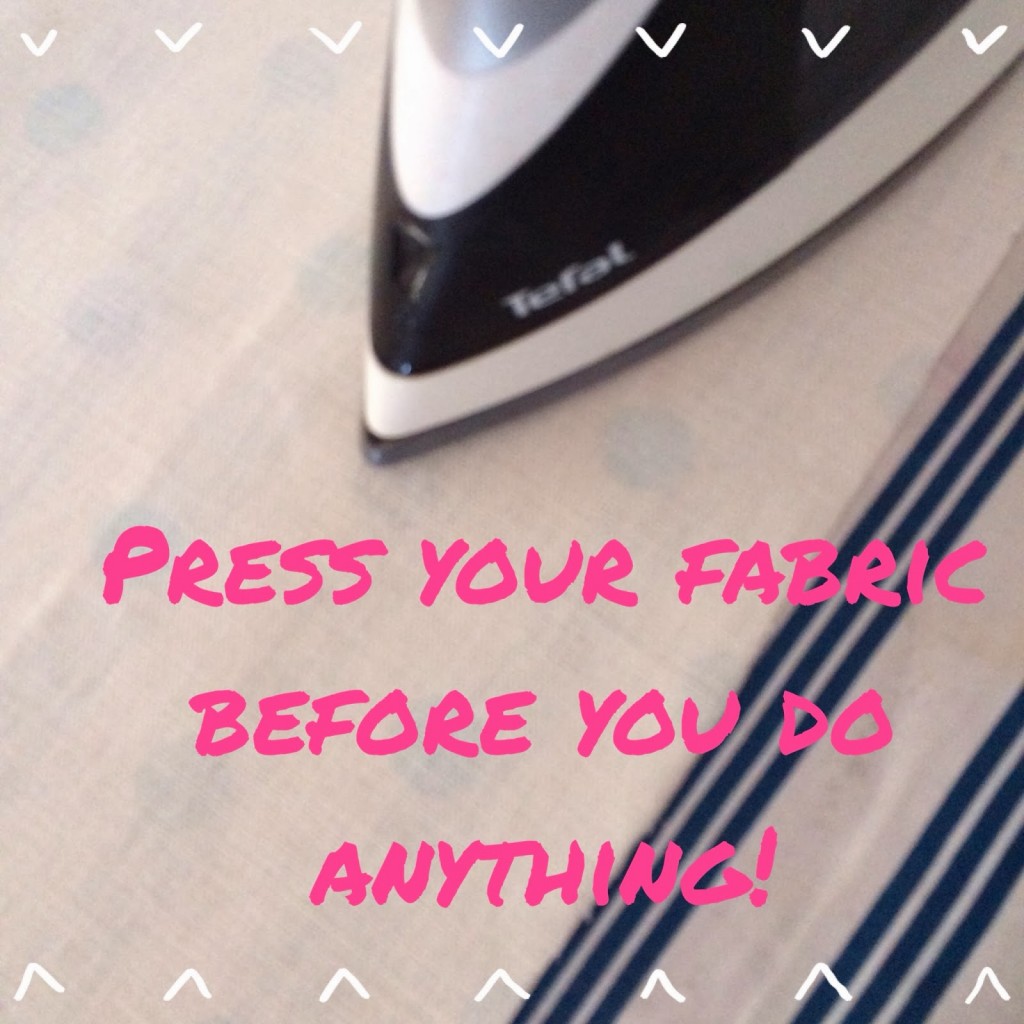
Turn it inside out so your design is now on the outside and press it, avoiding the felt as you want the butterfly wings to pop up nicely again.
Sometimes there is sand in excluder’s and I don’t recommend just plonking builders sand directly into the fabric bag, you could put it in ziplock bags if you wish…but I think that all get’s messy… if you fill it densely enough, it’ll be heavy enough to keep the breeze out. You can use old clothes torn up too.
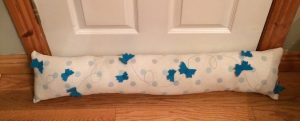
Use an ‘Invisable stitch’ then then to seal it upand VOILA! You have a cute home made draft excluder!

You May Also Like
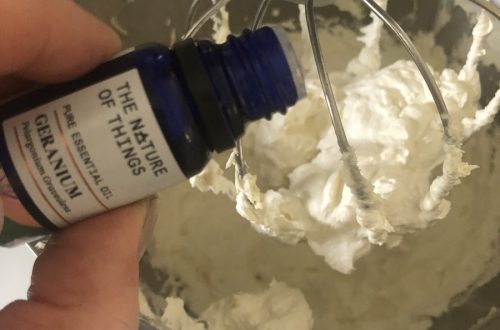
Home Made: Natural, Organic Body Butter
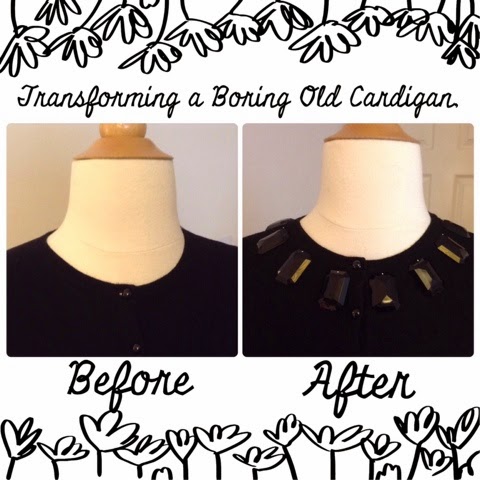
Crafting: Make Do & Mend!
