Recipe: Home Made Butter
We love trying our hands at making our own! We’ve brewed our own beer, wine, made our own spaghetti, ravioli…..and even butter! I’ve my husband to thank for this and it couldn’t be easier, his parents are always dropping hints for a slab of it, so we usually barter for one of Ryan’s Mother’s loaves of fresh bread.
Have you ever had your Mother or Grandmother tell you off while whipping cream “DON’T TURN THAT INTO BUTTER!!”? Well that’s exactly what it is, the only ingredient, Double (heavy) cream and 1/2 teaspoon of salt which is optional but will also help preserve the butter!
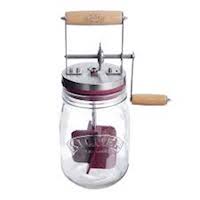
Just buy the biggest tub you can find, maybe 2x500g tubs, pop them into a food mixer and whisk it up on high speed until it separates, there will be a point when it separates into butter and buttermilk, it’s always a good idea to keep your splash guard on the mixer because you’ll be drowned in it if you’re not careful, it happens in a second, so watching it is a good idea so you
can turn the speed down when you need to.
Next you’ll need iced water, strain the buttermilk into a jug and keep it, wash the butter really well with the iced water until the water runs clear get all the buttermilk out and knead it into a firm ball, kneading the water out of it. It’s so important you get the buttermilk out or your butter will become rancid very quickly, then shape it and wrap in parchment paper and keep it in an airtight container. in the fridge but because there’s no preservatives etc it doesn’t last as long, well….with how good it tastes, it really won’t last long.. it tastes amazing on home made scones which you can use the buttermilk for, need a recipe? OF COURSE YOU DO!!!! 🙂 Waste not want not, you could even make American buttermilk pancakes!
 |
| Keep a large bowl of Iced water aside. |
 |
| Stage 2:Cream starts to thicken |
| Stage 3: A scrambled egg appearance, it will start to splash so use your splash guard and turn the speed down to 1. |
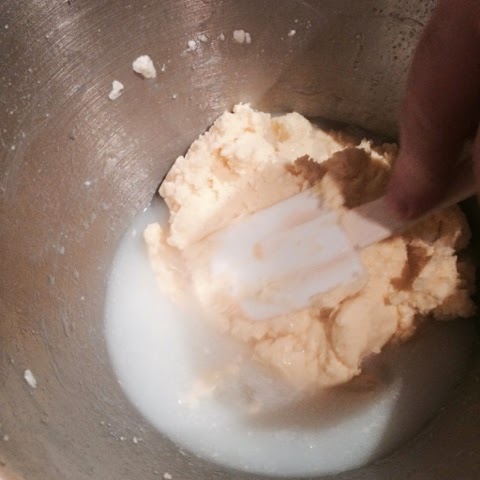 |
| Butter and buttermilk! Strain the buttermilk through a sieve into a jug and place the butter into the iced water and knead until all the buttermilk comes out which will make it rancid if left in the butter. |
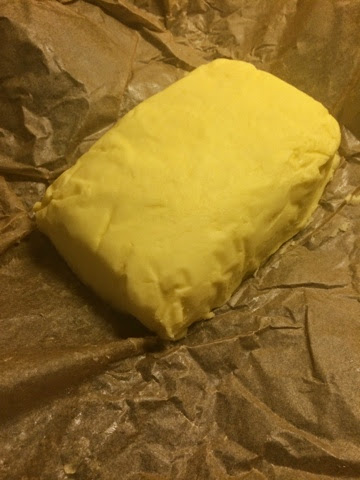 |
| After kneading the butter in the ice water, ditch the water and pat the butter into a block and store in an airtight container. |

Fruit Scones To Use The Leftover Buttermilk
400g (14 oz) plain flour
100g (3 3/4 oz) caster sugar
1/2 tsp baking powder
1/2 tsp baking soda
3/4 tsp salt
175g (6 oz) soft butter
250ml (8 fl oz) buttermilk
- Preheat your oven to 220˚C.
- In a large bowl, add the butter and flour and with your fingers, crumble into a breadcrumb consistency and add the rest of the ingredients and with your fingers, loosely mix until it’s all combined.
- As I mentioned above, use your fingers to spread out the mix, instead of a rolling pin because you don’t want to compact it, keep air and lumps of butter in the pastry which leads to a fluffy scone.
- Brush your scones with eggwash (a beaten egg with a little milk) and spinkle some sugar on top, then bake for about 10 minutes until golden on top.
- Allow to cool on a wire rack.

One Comment
Pingback: